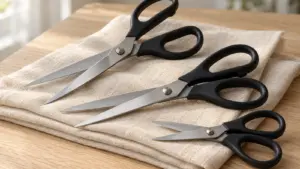
How to Sharpen Fabric Scissors at Home
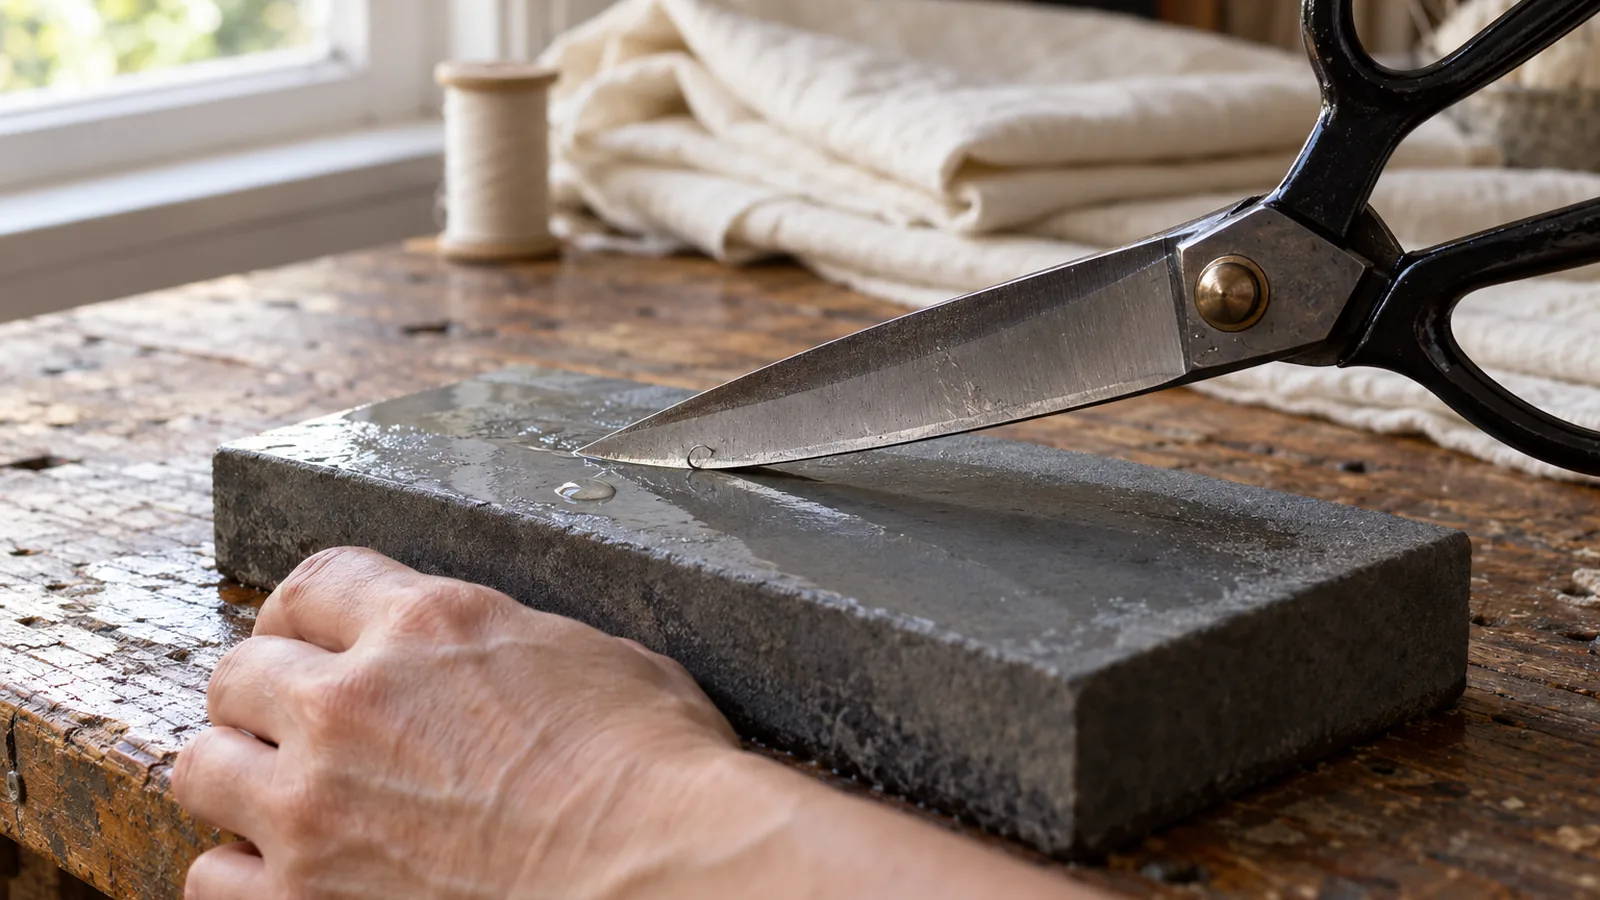
Quick answer
How can you sharpen fabric scissors at home?
Yes, ordinary beveled fabric scissors can be sharpened by hand on the outer bevel. Work only the beveled outer face, using a typical 25–30° angle and 10–12 smooth strokes per blade, since these are typical guide values and not universal specs. Riveted OLFA scissors aren’t designed for resharpening, so skip home sharpening on them. Avoid a kitchen-knife sharpener, because its 15–20° knife angle may damage the blade geometry.
- Check the blade type: Hand sharpening suits plain beveled blades, and Fiskars excludes some styles, such as pinking, serrated, curved, coated, RazorEdge, and left-handed scissors, depending on the model.
- Clean and dry: Remove lint and residue, then dry the blades completely.
- Set up safely: Work on a stable surface, keeping your fingers clear of the edge.
- Pick a sharpener: Use a purpose-made sharpener only if its maker says it suits your fabric-shear design.
- Sharpen the bevel: Match the existing bevel, stroke only the outer face from pivot to tip, and make 10–12 strokes per blade.
- Test the edge: Make one cut through a single layer of lightweight, slippery fabric such as silk, chiffon, or lining.
Sharpen fabric scissors step by step
Sharpen fabric scissors by working only the beveled outer face at a 25–30° bevel angle, with 10–12 smooth strokes per blade. If you’re learning how to sharpen fabric scissors, check your blade type first, because some designs can be damaged by sharpening.
| Item | Value | Source |
|---|---|---|
| Bevel angle (degrees) | 25–30 | famcut.com |
| Strokes per blade (count) | 10–12 | famcut.com |
| Knife angle to avoid (degrees) | 15–20 | famcut.com |
These are typical figures, not universal specifications. The knife angle is why a kitchen-knife sharpener is the wrong tool: it differs from fabric-shear geometry and may damage the blade.
- Check the blade type. This method suits plain beveled blades. Skip pinking, serrated, curved, coated, RazorEdge, and left-handed scissors. OLFA riveted scissors aren’t designed for resharpening, so don’t take them apart at home.
- Clean and dry the blades. Remove lint and residue, then dry them completely.
- Set up a stable surface. Keep your fingers clear of the edge and handle the blades carefully.
- Choose the sharpener. Use a purpose-made scissor sharpener only if the maker confirms it suits your fabric-shear design.
- Sharpen the outer bevel. Match the existing bevel, sharpen only the beveled outer face, and stroke from pivot to tip using the angle and count from the table.
- Cut a test scrap. Make one cut through a single layer of lightweight, slippery fabric such as silk, chiffon, or lining.
Which sharpening method suits your scissors?
Hand sharpening the beveled outer face suits most ordinary fabric scissors. Match the existing bevel, sharpen only the outer face, and work from pivot to tip. Typical values run 25–30° sharpening angle with 10–12 strokes per blade. These are typical values, so keep the angle your pair already has.
Three common options work differently:
- Hand sharpening on the bevel: Best for standard beveled fabric scissors when you keep the original angle.
- Purpose-made sharpener: Use one only if the maker confirms it suits your fabric-shear design. The Clip-Sharp is unsuitable for pinking, serrated, RazorEdge, and curved scissors and is intended for right-handed pairs only.
- Kitchen-knife sharpener: Avoid it. Its 15–20° knife angle falls outside the fabric-shear range and may damage the blade geometry.
Riveted and serrated models need a different approach. OLFA doesn’t design its scissors for resharpening, because the riveted joint requires disassembly and precise readjustment. The company also warns that sharpening some serrated models can damage their function. On those models, skip the home methods above.
Pro tip
How can you tell if sharpening worked?
You can tell sharpening worked when one smooth cut runs from pivot to tip without snagging, chewing, or folding the fabric. Test on a scrap of the fabric you normally cut, then try a single layer of lightweight, slippery fabric such as silk, chiffon, or lining, since that exposes a dull edge more easily.
Use this check:
- Lay one layer of the test fabric flat on a stable work surface.
- Keep your fingers clear of the edge, then open the blades and place the fabric near the pivot.
- Close the blades in one continuous stroke toward the tips.
- Look at the cut line and the fabric for drag, folding, or chewing.
A clean pass means the fabric cut without any of those problems. If the blades snag, chew, or leave a ragged line, the edge still needs work. Repeat the same check on your regular fabric before you return the scissors to sewing, so you know the result holds on the material you actually cut.
If the fabric folds or slips at the tips even though the edge looks sharp, check blade tension. Loose blades may separate at the tips and push fabric instead of cutting it.
Warning
A nicked blade is a reason to stop and consider professional service rather than keep sharpening.
When should a professional sharpen them?
Take fabric scissors to a professional when a blade is nicked or still cuts poorly after cleaning and a compatible, maker-approved touch-up.
Some blade styles are a poor fit for home sharpeners, so check the design before you buy a sharpener.
- Pinking, serrated, and curved blades: the Clip-Sharp is unsuitable for these.
- Left-handed scissors: the Clip-Sharp is intended for right-handed scissors only.
- Coated scissors: some Fiskars sharpener models exclude them, so check your model first.
OLFA scissors need a separate approach.
Warning
Frequently Asked Questions
Can aluminum foil sharpen fabric scissors?
No, foil isn’t one of the methods this guidance supports. Stick to hand sharpening on the existing bevel, working only the outer face with smooth strokes from pivot to tip. Clean and dry the blades first, then test the edge on a scrap of lightweight fabric.
How often should fabric scissors be sharpened?
Sharpen them when a test cut stops working, not on a fixed schedule. A pair that snags, chews, or folds lightweight fabric such as silk or chiffon needs attention. Clean lint and residue off the blades before you sharpen them.
How can you tell whether fabric scissors are dull?
A dull pair snags, chews, or folds fabric instead of making one smooth cut from pivot to tip. If fabric slips at the tips despite a sharp-looking edge, check blade tension, since loose blades can push fabric instead of cutting it.
Should I oil fabric scissors after sharpening them?
No, oil isn’t part of the sharpening procedure here. After sharpening, run a test cut on a scrap to confirm the edge before you sew with them.
Can sandpaper sharpen fabric scissors safely?
Sandpaper isn’t one of the methods described here, so stick to hand sharpening on the existing bevel.
Conclusion
If your scissors have plain beveled blades and you can keep their original angle, sharpen them by hand and check the result with a test cut. If they’re riveted, serrated, or nicked, skip the home methods and book a professional.
Your next step is a quick look at the edges under bright light. Wipe off lint, dry the blades fully, then run one slow cut through a lightweight scrap. If the cut drags or chews, stop and have the blade assessed instead of grinding it further.
Sources
- famcut.com (famcut.com)
- olfa.com (olfa.com)
- fiskars.com (fiskars.com)